
.svg)

.svg)
.svg)
Fall Hiking Foot Pain: How to Protect Your Feet and Ankles on East Bay Trails


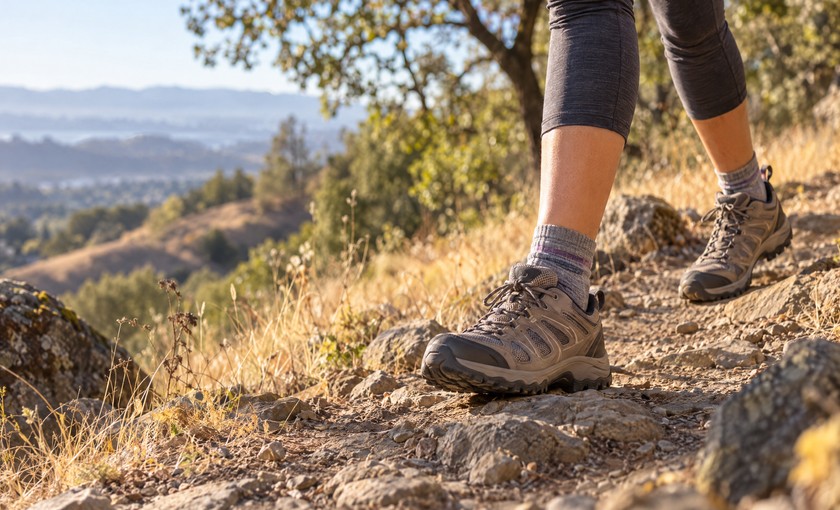
Fall is an inviting time to get outside, but East Bay trails can ask more of your feet and ankles than a neighborhood walk. Dry leaves can hide uneven ground, gravel can shift underfoot, and a long descent may feel very different from the climb. A little planning can help you enjoy the route while paying attention to the signals your body gives you.
Whether you hike near Walnut Creek and Antioch or choose another local trail, start with equipment and a plan that match the day ahead. Foot pain is not something to “push through” on a hike. It is useful information. Slowing down early, adjusting the route, or turning around can help prevent a small problem from becoming a larger interruption to your routine.
Begin with shoes that fit the trail and your feet
A hiking shoe or boot should feel secure at the heel without squeezing the toes. Wear the same socks you expect to hike in when trying footwear, and try on both shoes with the laces tied. Feet often swell over the course of a day, so an afternoon fitting can give a more realistic sense of space. Your toes should be able to move, and the front of the shoe should not press on your longest toe when you walk downhill or step forward.
For uneven East Bay terrain, look for a stable heel area, a sole with traction, and a comfortable amount of cushioning. A higher-cut boot may feel more supportive to some hikers, but its height alone does not prevent a sprain. What matters is a secure fit, steady footing, attention to the trail, and shoes appropriate for the surface. Replace footwear when the tread is worn smooth, the midsole feels uneven, or the upper no longer holds your foot securely.
Break in new hiking shoes before a full outing. Start with short walks close to home, then use them on a shorter trail. This lets you notice rubbing, heel slippage, pressure over the toes, or an uncomfortable seam before you are far from the trailhead. If you have been advised to use an ankle brace after a prior injury, follow your clinician’s directions rather than relying on new gear to compensate for pain or instability.
Build mileage and elevation gradually
A fall hiking goal is easier on your feet and ankles when the distance, elevation, pace, and pack weight build over time. Rather than making every part of a hike harder at once, change one factor and see how your body responds. For example, add time on the trail before adding a steeper route or a heavier daypack. Choose a route with a turnaround option, and leave enough time to descend without rushing.
Pay special attention to the day after a longer hike. General muscle fatigue may settle with rest, but pain that changes your stride, returns with each outing, or becomes more localized deserves a pause in training and professional guidance. Continuing to hike with an altered gait can place extra load on other parts of the foot, ankle, knee, or hip.
• Let recent activity, not an ambitious calendar, determine the next hike.
• Include easier days between demanding outings, especially after a new route, longer descent, or change in footwear.
• Bring water, a charged phone, and a simple plan for shortening the route if your feet begin to hurt.
Warm up before uneven ground
Give your lower legs and ankles a few minutes to transition from sitting or driving to hiking. A five- to ten-minute easy walk on level ground is a practical warm-up. Then use comfortable, controlled movements such as ankle circles, a few heel raises while holding a stable support, and gentle calf motion. The purpose is to prepare for movement, not to force a deep stretch.
Regular strength, mobility, and balance work can also support trail readiness. Calf strength and the muscles around the lower leg help control the ankle, while balance practice can improve awareness of foot position. These exercises should be comfortable and appropriate for you. If an exercise causes pain, stop and discuss it with a qualified clinician or physical therapist before continuing.
On the trail, take smaller, deliberate steps through loose gravel, off-camber sections, and descents. Keep your attention on the surface ahead rather than only the view or a conversation. Hiking poles may help some people with balance and downhill control, but they do not replace a cautious pace or suitable footwear.
Prevent blisters before they become painful
Blisters usually begin with friction, moisture, or both. Start with clean, dry, moisture-wicking socks that fit without bunching. A spare pair in your pack can be useful if socks become wet from sweat, rain, or a stream crossing. Keep toenails trimmed straight across and not excessively short, because long nails can press against the front of the shoe on descents.
Check your feet at a rest stop, especially when you feel a hot spot. Stop and address rubbing early by drying the skin, smoothing a sock wrinkle, adjusting the laces, or applying a clean protective dressing. Do not ignore a hot spot simply because the trail is nearly over. If a blister opens, keep it clean and protected. Increasing redness, warmth, drainage, fever, or spreading pain warrants medical advice.
Know when pain may need prompt care
An ankle sprain involves ligaments that have been stretched or torn, often after the ankle rolls or twists. An abrupt twist followed by pain, swelling, bruising, or trouble using the joint may be a sprain, but those signs can also occur with other injuries. Do not try to diagnose the injury on the trail.
Seek urgent evaluation after a hike if there is a visible deformity, an open wound, severe pain, a foot that looks pale or blue or feels cold or numb, or an inability to bear weight after an acute injury. A pop with immediate difficulty using the ankle or foot also needs prompt attention. If swelling does not begin to improve, pain remains significant, or the area becomes red, hot, or accompanied by fever, contact a healthcare professional.
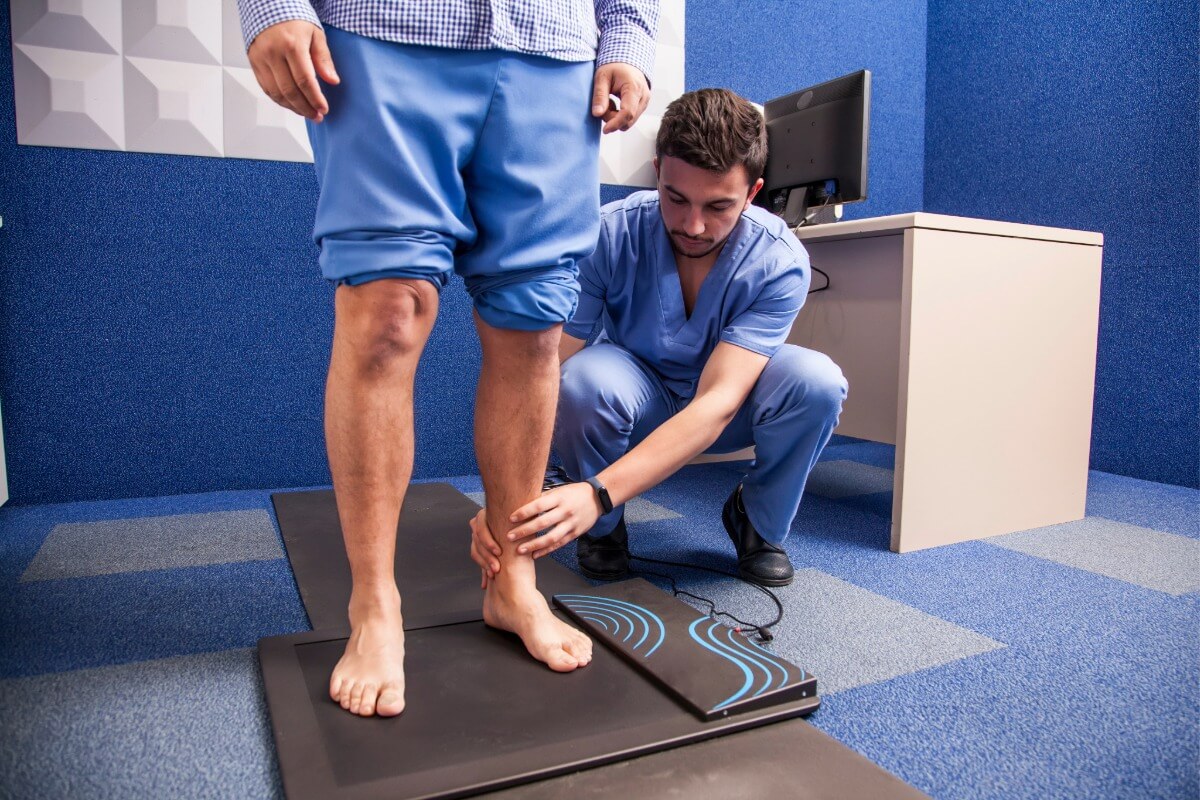
For ongoing heel, arch, ankle, or forefoot discomfort that limits your usual activity, an evaluation can help clarify safe next steps. Diablo Foot & Ankle serves Walnut Creek, Antioch, and San Ramon. Learn about available treatments and supportive care options for foot and ankle concerns.
This article provides general education and is not medical advice, diagnosis, or a substitute for an examination by a qualified healthcare professional.
Ready to discuss hiking-related foot or ankle pain? Contact Diablo Foot & Ankle to request an appointment.
Related articles


Request your podiatry consultation now
Fill out our contact form for a prompt call back. Diablo Foot & Ankle: Premier podiatry group in Walnut Creek & Antioch
